Spotlight
How to Use IPv6 With AWS Services That Don't Support It
Build an IPv6-to-IPv4 proxy using CloudFront to enable connectivity with IPv4-only AWS services.


Recently, the IoT team at Trek10 conducted some research and testing with the Blues Cell + Wifi Notecard housed in the Raspberry Pi Notecarrier. We were inspired to test this device after listening to a podcast featuring Ray Ozzie, founder of Blues and also former Chief Software Architect at Microsoft, who helped bring Azure to the forefront of cloud computing. During the podcast, he gave an inspiring vision of how IoT products will continue to shape the future and enable smarter decision making and resource allocation.
We chose the Wifi + Cell chip to test out since we are interested in helping our customers maintain connectivity in environments where signal quality can vary. A common issue our customers encounter with IoT is spotty network connectivity, and having a reliable redundant communication system built into a device’s communication module simplifies the process of ensuring data ends up in the cloud.
The chip is offered in a variety of configurations, allowing you to choose from LTE Cat 1, LTE Cat M, and NB-IoT. You can choose North American or Global coverage models depending on your needs. The microcontroller can communicate with the communication module via I2C or serial interface by issuing JSON formatted commands. Data ultimately ends up in Notehub, a data and device platform developed by Blues which allows you to view your fleet, manage over-the-air updates, and integrate with other cloud platforms.
In this overview, we will go through step by step how we set up the Blues Cell + Wifi communication module on a Raspberry Pi Zero, explore Notehub and its features, investigate AWS integrations with the Blues ecosystem, and give our thoughts on the pros and cons of utilizing Blues in your IoT project.

The Notehub platform allows you to manage your fleet of Notecards, view and monitor incoming data, and integrate with 3rd party cloud platforms. Creating a Notehub account is free, and includes 5,000 credits which are used when data is exported from Notehub. Features are limited to data ingestion, OTA management, device environment management, and data routing with the Essentials tier.
To test the capabilities and usability of the Cell + Wifi chip, we purchased the following items:

Raspberry Pi Setup
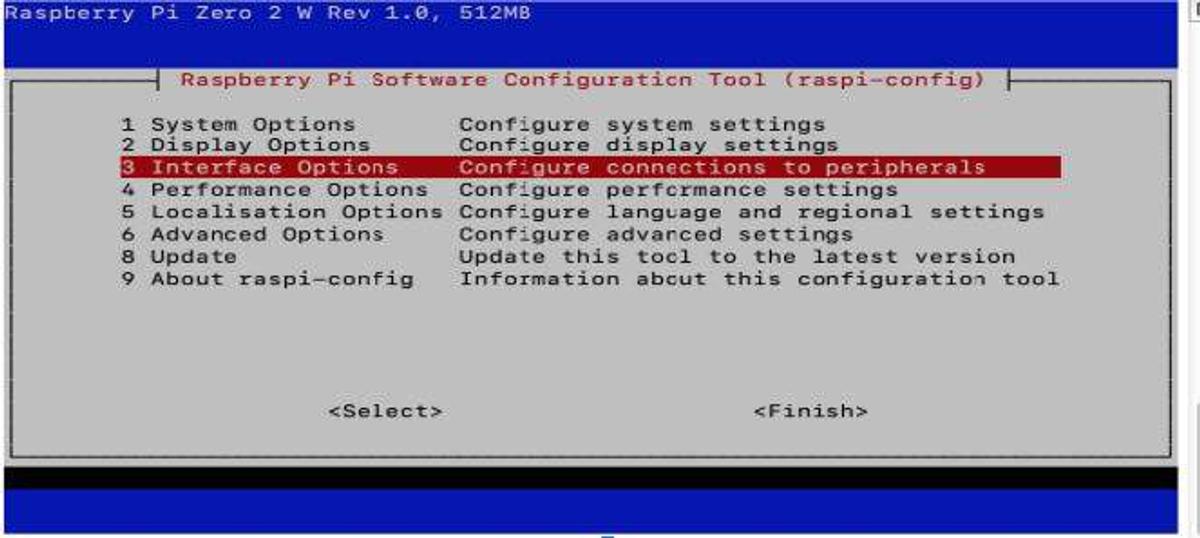
The first step is to set up the Raspberry Pi in a headless configuration. This involves:

$ ssh <username>@raspberrypi.local
dtparam=i2c_arm=on
dtparam=i2s=on
dtparam=spi=on


sudo apt-get install i2c-tools
i2cdetect -y 1

Notecard Provisioning
Once you have your Raspberry Pi online and have installed the Notecarrier, navigate to Notehub and create an account. You will need to create a project which will generate a project ID that looks like this: com.<org>.<user>:<project_name>.
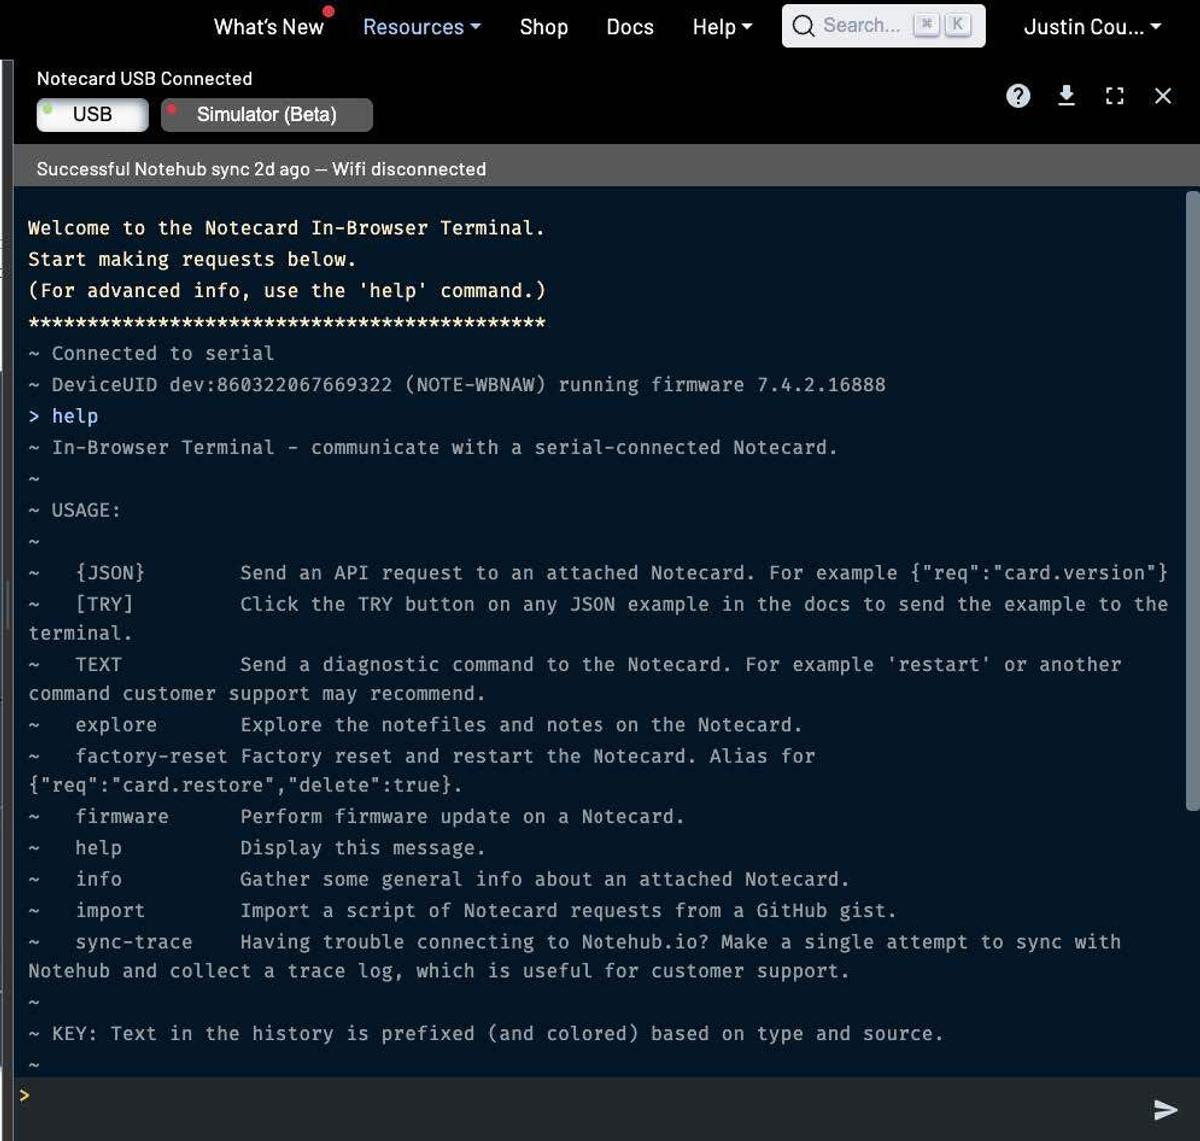
The notecard has an external micro-usb serial interface that can be used to issue commands directly using the notecard-cli or the online interface

Issuing the command in the in-browser terminal:
{“req”:“card.wifi”,“ssid”:”<network_name>“,“password”:”<wifi_password>“}
provides network access to the Notecard, which will utilize wifi as the primary source of communication with cellular as a backup method. To provision the device to Notehub, simply issue the following two commands:
{"req":"hub.set","product":"com.your-company.your-name:your_product"}
{"req":"hub.sync"}
You should now see your device listed in Notehub and the sync event under the Events section:

Sending Data to Notehub
After the device is provisioned, run the following Python script on the Raspberry Pi after installing the required notecard pip packages:
filelock=3.16.1
note—python==1.5.0
notecard—pseudo—sensor=2.0.0
pyserial=3.5
python—periphery=2.4.1
RPi.GPI0=0.7.1
import notecard
import notecard_pseudo_sensor
from periphery import I2C
import time
import notecard
import notecard_pseudo_sensor
from periphery import I2C
import time
import random
import serial
import json
PRODUCTUID = "<YOUR_NOTEHUB_PRODUCT_ID>"
port = I2C("/dev/i2c-1")
card = notecard.OpenI2C(port, 0, 0)
sensor = notecard_pseudo_sensor.NotecardPseudoSensor(card)
counter = 0
while True and counter  <= 20:
  temp = sensor.temp()
  humidity = sensor.humidity()
  print('Temperature: {} degrees C'.format(temp))
  print('Humidity: {}%'.format(humidity))
  req = {"req": "note.add"}
  req["file"] = "sensors.qo"
  req["sync"] = True
  req["body"] = { "temp": temp, "humidity": humidity }
  rsp = card.Transaction(req)
  print(rsp)
  counter += 1
  time.sleep(15)
The script generates synthetic data from the notecard_pseudo_sensor package, however, this is easily substituted with GPIO readings if you have sensors you would like to read in data from. The file field on the request is a way to segment data types, similar to how you would segment data onto different MQTT topics in AWS IoT core. Setting a different file name for different data types will allow you to process the data in different ways in Notehub.
After running this script you should be able to see your published events in the Events section of Notehub:


AWS Integration
Notehub offers several ways to integrate with AWS, however, in a limited capacity. Incoming messages can be backed up to an S3 bucket at a set time or volume interval with the purchase of the developer edition of Notehub.

You can also configure ‘routes’ within Notehub to have messages trigger a Lambda function, or be pushed into SQS queues and IoT Analytics. Although these features are useful, IoT Core’s integrations with AWS services are far more configurable, event-driven, and cost-effective to utilize. Assuming you are using AWS IoT Basic ingest to avoid messaging costs and message payloads are sub 5Kb, the cost to route data into an AWS service would just include the price of the rule invocation. On AWS (not factoring in the free tier), the price to invoke a rule 1 million times is $.15. On Notehub, there is a tiered pricing structure based on consumption credits. The first 15,000 route invocations are free, the next 485K are priced at .000750 per invocation, and the next 500k are priced at .000563, putting the total price at $0 + $363.75 + $281.50 = $645.25.

Pros and Cons of Utilizing the Blues Ecosystem
As with every technology we look at, there are advantages and disadvantages to adopting the Blues hardware we tested:
Pros:
Cons:
Overall, our team enjoyed testing out the Blues Wifi + Cellular notecard and Notehub ecosystem. We took a balanced approach to evaluating the merits and drawbacks of adopting this technology.
We found that Blues can:
With these priorities in mind, Blues is definitely worth considering. Perhaps some of the restrictions around cost, integration flexibility, and scalability will improve over time as platform adoption grows.

Build an IPv6-to-IPv4 proxy using CloudFront to enable connectivity with IPv4-only AWS services.
